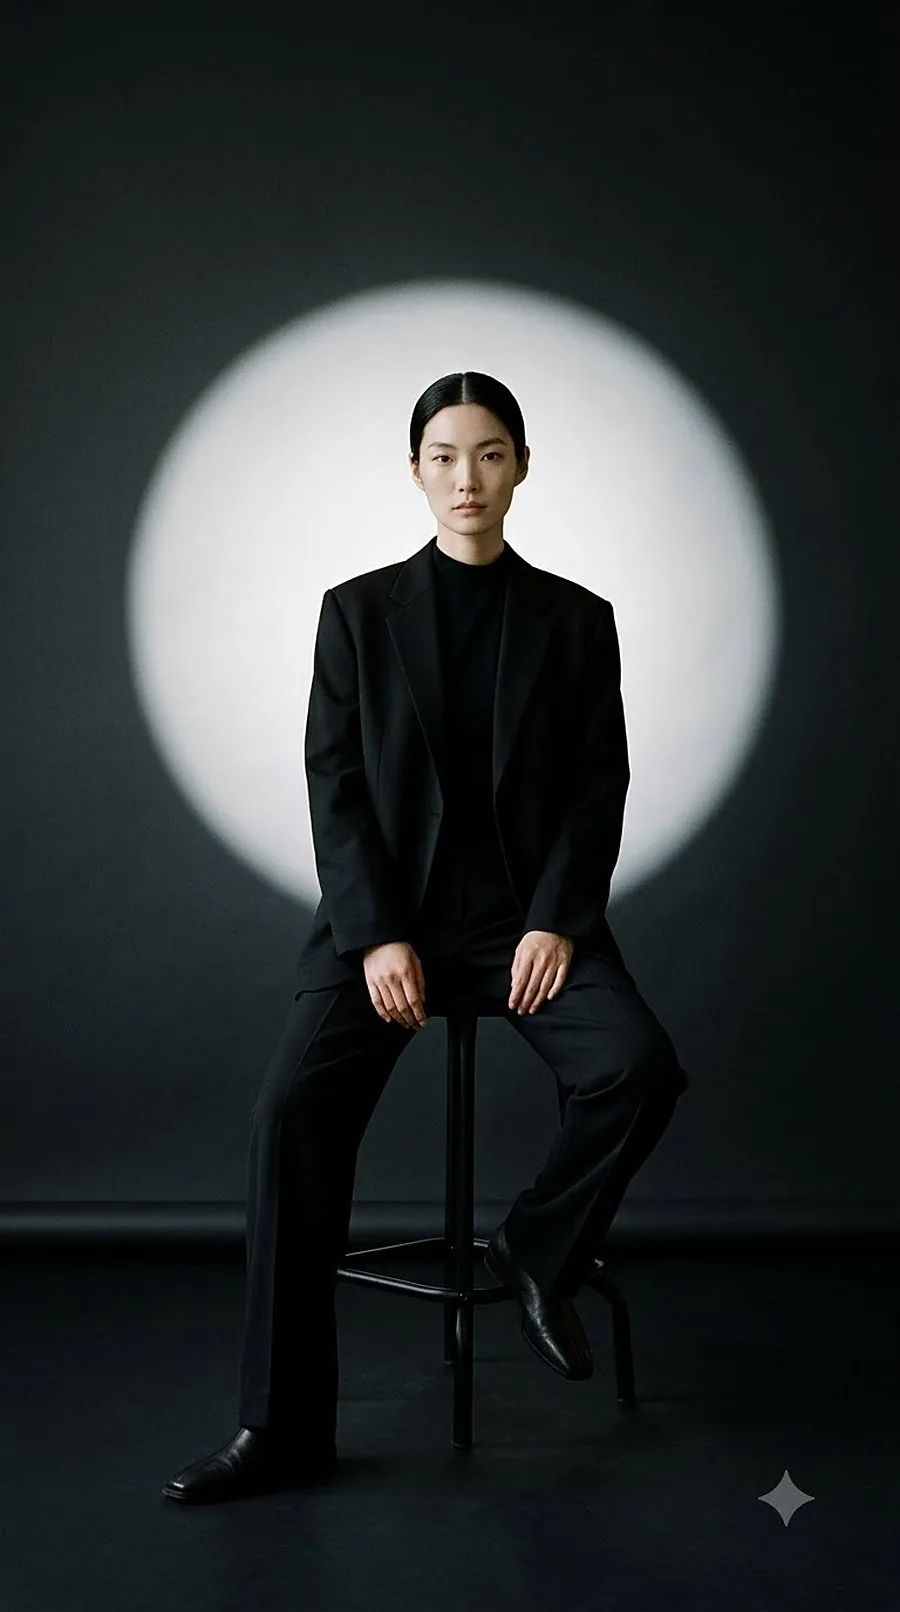
The same clothes come out in different colors in photos taken under office fluorescent lights, restaurant warm (yellow) lighting, and sunlight by a window. This guide explains how lighting and phone auto-correction change clothing color, which colors shift the most, and what to watch for when you look at online shop photos and when you use Moodcodi's Photo Check.
We often hear that a navy knit ordered online looked much darker than in the product photo. A beige coat in a photo of you wearing it can come out looking gray. The clothes stay the same, but in many cases the lighting at the moment of shooting and the phone's editing have changed the color in the photo.
1. Shooting the same clothes in three places
Say you photograph one camel coat in three places in one day.
| Place | Lighting | Camel coat in the photo |
|---|---|---|
| Office | White, bluish fluorescent or LED lights | The yellow drains out, like a grayish beige |
| Restaurant in the evening | Yellow warm lighting | An orange tint appears, like a deeper brown than the real color |
| By a window in the daytime | Sunlight on a non-overcast day | The camel closest to the real color |
Our eyes mostly recognize white paper as white even when the lighting changes. So when you are there, the coat color does not look very different. The color in a photo passes through the lighting of that moment plus the camera's white balance and editing, so the difference shows up when you look at it on a screen later.
The same thing happens at home. If your living room light is a yellow warm bulb, clothes you picked out in the living room in the evening can look like a different color in sunlight on your commute the next morning. If you decide what to wear the night before, look at it once more in a room or bathroom with white light.
2. Colors your phone changes on its own
A phone camera guesses the lighting color every time you shoot and automatically corrects the color. Most of the time this correction gives a natural photo, but when one color fills much of the frame or in places with mixed lighting, color can lean to one side. A photo taken in front of a yellow wall may come out bluish overall.
If you want to compare colors, take the photo with a gray card or a sheet of white paper placed where it gets the same light as the clothes. It will not make the correction accurate, but later you can look at how yellow or blue the paper came out in the photo and guess which way the lighting shifted the color.
In dark places, deep colors can be hard to tell apart in photos, such as navy and black, or burgundy and dark brown. To compare two colors, take the photo again in the daytime in a place with indirect sunlight, such as by a window.
The screen you view the photo on adds one more step. The same photo looks different in color depending on the phone, the screen brightness, and the night display setting. If you choose clothes with the setting that turns the screen yellow before bedtime switched on, every white garment looks ivory.
3. Colors that shift the most in photos
- Navy: It easily comes out like black in indoor or evening photos. If you wear navy and black together, they can look like one color in the photo.
- Beige: It shifts toward gray under blue lighting and closer to apricot under yellow lighting. Even for the same beige, the direction it shifts depends on whether it has more of a yellow or a pink cast.
- Khaki and olive: They sit between green and brown, so depending on the lighting they swing toward green or toward brown.
- Burgundy: In dark places, it can look like black or dark brown.
- White: Lighting color shows up easily on it, so it may come out bluish under fluorescent lights and yellowish under a bulb.
- Gray: It has almost no color of its own, so it follows the color of the surrounding light. It may come out as a warm beige gray under a bulb and a bluish gray under fluorescent lights.
4. When you look at online shop photos
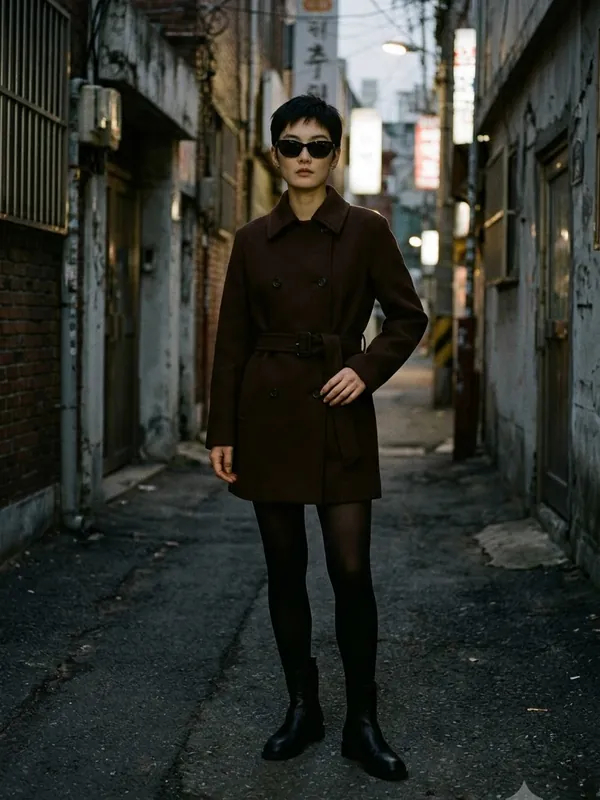
Product photos are usually taken under bright lighting and edited, so they come out brighter than the real thing. If a product page has several photos, do not look only at the photo of the model wearing it. Look at the photos of it laid on the floor or a white background and the close-up of the fabric too. If the three photos differ in color, do not guess that the middle one is the real color. For clothes where color matters, ask the seller for a photo of the actual item taken in natural light.
Look at review photos as well, but reviews are also photos that went through lighting and editing. Look at where each was taken. A daytime photo by a window is good to refer to, and a nighttime indoor photo may have come out darker or yellower than the real thing. If many reviews say things like “The real item is darker,” it is better to trust that.
The same thing happens when you send photos to family before buying clothes to ask their opinion. If you send only the product photo, the color changes again on the receiver's screen, so photograph a similar-colored piece you already own side by side in the same spot and send it along. You get a reference like “a navy a bit deeper than this gray,” and you can get a much more accurate answer.
5. When you use Moodcodi's Photo Check
Moodcodi's outfit check also reads the colors in the photo you upload to look at the color pairing. So it is affected by lighting and editing in the same way this article describes. A camel coat shot under fluorescent lights may be read toward gray, and a navy shot under a bulb may be read toward black. Treat the result as a reference only, and if it feels different from the real clothes, shoot again somewhere else and compare.
When you compare clothing colors, a photo where the background and other clothes show less is better. If you want to see how a top and bottom pair, take off your outer layer and shoot where no other clothes hang behind you.
- Shoot by a window in the daytime on a non-overcast day. One step back from where the sun comes in directly is better.
- Choose a background with no color, like a white or gray wall.
- Turn off night mode and filters.
- Shoot so that both top and bottom show, and let the clothes fill more than half of the frame.
If your home lighting is on the yellow side, just taking one more photo by a window can reduce the gap between the Photo Check result and the real clothes.